
Configuration Of QT With OpenCV
QT is basically distributed under GPL and LGPL having the best frameworks for cross-platform application software with emphasis on graphical user interfaces (GUI). In an OSX project, we had to implement OpenCV libraries in QT for a MAC application. OpenCv is the best framework for video processing but lacking the rich GUI functionality. We needed QT to design a GUI rich application for video processing project for the native MAC OS look and feel. This article covers how OpenCV is integrated with QT libraries for a MAC application. Listed below are the steps to be followed:
Note: The OpenCV must be installed on your Mac machine before configuring QT with OpenCV. Please follow the tutorial if OpenCV is not already installed on your Mac.
1. Download latest version of QT for MAC OS from this link:

2. When the unified QT dmg file download completes, open it.

3. Open the application for installation.

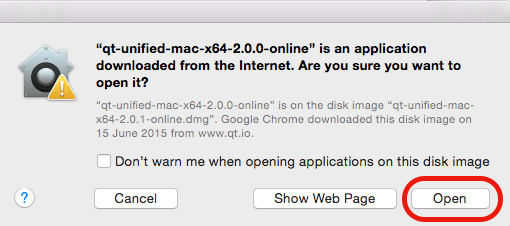
4. The Mac will show you a warning that the application is not downloaded from its App store. Just click on “Open” button.
5. An installation window will prompt you for “Continue“.

6. QT Setup will ask you for QT Account. Just click on “Continue” button.

7. QT Setup welcome note will display. Once again click “Continue” button.

8. QT Setup will prepare the information to download, it will take some time.

9. Now QT Setup will ask for its installation location. Change the installation location by selecting “Browse” button and select “Continue” button.

10. Now select the QT component and select “Continue” button to download the libraries and tools.

11. It will take time to download the libraries from Internet and to install them. When the installation completes, you need to select the “Finish” button of QT Installer.
12. Open QT Creator by typing “QT” in spotlight. A QT creator IDE will open. Now click on “New Project” button.

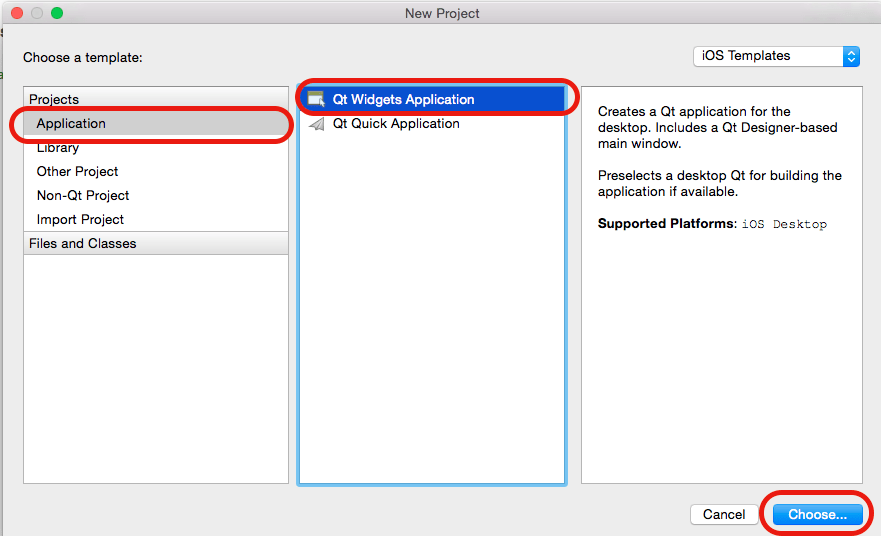
13. A New Project window will open. Now select “Application” from project and select “QT Widgets Application” from second column and click “Choose…” button.
14. Give the name of application in “Name” field and change project location if required.

15. Select the QT kit that is required in the project and click on “Continue” button.

16. Change the class name if required. The QT Creator will configure the project boiler template for you. Click “Continue” button.

17. If you want to add version control, then click on “Configure” button. QT Creator tool has the functionality for adding version control in it. Click on “Done” button.

18. Now, you have successfully created a project. On left side of QT Creator IDE, there is project navigation. QT follows MVC pattern. There will be three groups under your project. “Headers” will include the CPP headerfiles of the project. “Sources” will include the CPP sources files that include controllers. “Forms” will include the views.

19. Now you can run your project. It should be run without any issue as shown in the following screen shot:

20. Open {project}.pro file and add the following code before source as shown in the screen shot.
|
1
2
3
4
5
6
7
8
9
10
11
12
13
14
15
|
QMAKE_MACOSX_DEPLOYMENT_TARGET = 10.10
INCLUDEPATH += /usr/local/include/
LIBS += –L/usr/local/lib
LIBS += –lopencv_core
LIBS += –lopencv_imgproc
LIBS += –lopencv_highgui
LIBS += –lopencv_ml
LIBS += –lopencv_video
LIBS += –lopencv_features2d
LIBS += –lopencv_calib3d
LIBS += –lopencv_objdetect
LIBS += –lopencv_flann
LIBS += –lopencv_imgcodecs
|

21. Now you can open the GUI Form by opening the “mainwindow.ui” file from project navigation. Add someGUI component by drag and drop from the GUI toolbar.

22. Select the “mainwindow.h” file and add the private method under “private slots” and add the private data members under “private”. Look at the following complete code of this class:
|
1
2
3
4
5
6
7
8
9
10
11
12
13
14
15
16
17
18
19
20
21
22
23
24
25
26
27
28
29
30
31
32
33
34
|
#ifndef MAINWINDOW_H
#define MAINWINDOW_H
#include <QMainWindow>
#include <opencv/cv.h>
#include <opencv/highgui.h>
namespace Ui {
class MainWindow;
}
class MainWindow : public QMainWindow
{
Q_OBJECT
public:
explicit MainWindow(QWidget *parent = 0);
~MainWindow();
private slots:
void openImage();
void on_btnOpen_clicked();
private:
Ui::MainWindow *ui;
QString fileName;
IplImage *iplImg;
char* charFileName;
QImage qimgNew;
QImage qimgGray;
};
#endif // MAINWINDOW_H
|

23. Select the “mainwindow.cpp” file and write your controller logic. Look at the following complete code of this class:
|
1
2
3
4
5
6
7
8
9
10
11
12
13
14
15
16
17
18
19
20
21
22
23
24
25
26
27
28
29
30
31
32
33
34
|
#include “mainwindow.h”
#include “ui_mainwindow.h”
#include <opencv2/opencv.hpp>
#include <QFileDialog>
//using namespace cv;
MainWindow::MainWindow(QWidget *parent) : QMainWindow(parent), ui(new Ui::MainWindow) {
ui->setupUi(this);
}
MainWindow::~MainWindow() {
delete ui;
}
void MainWindow::openImage() {
fileName = QFileDialog::getOpenFileName(this,tr(“Open
Image”),QDir::currentPath(),tr(“Image Files [*.jpg, *.jpeg, *.bmp, *.png, *.gif]”));
charFileName = fileName.toLocal8Bit().data();
iplImg = cvLoadImage(charFileName, CV_LOAD_IMAGE_GRAYSCALE);
qimgNew = QImage((const unsigned char*)iplImg->imageData,iplImg->width,iplImg–
>height,QImage::Format_Indexed8);
qimgNew.setPixel(0,0,qRgb(0,0,0));
ui->lblImage->setPixmap(QPixmap::fromImage(qimgNew));
}
void MainWindow::on_btnOpen_clicked() {
openImage();
}
|

24. Open the directory where QT is installed. Now navigate to 5.4/clang_64/ mkspecs/macx-clang and open “qmake.conf” file and change QMAKE_MACOSX_DEPLOYMENT_TARGET = 10.9 to the current MAC OS version, i.e; 10.10 (Major.Minor):
QMAKE_MACOSX_DEPLOYMENT_TARGET = 10.10

25. Now you can run your project. It will open GUI. Click on “Grayscale Img” button and it will show choose file option. Select an image from your memory and click “Open”. This project will convert the image into gray scale and it will show the result in QT GUI Widget.

Source : http://vteams.com/blog/configuration-of-qt-with-opencv/